Are you ready for more IKEA kitchen posts? I’m determined to finish this kitchen once and for all! Today I’m back to share all about our kitchen hardware – where we purchased it and the best way to install it.
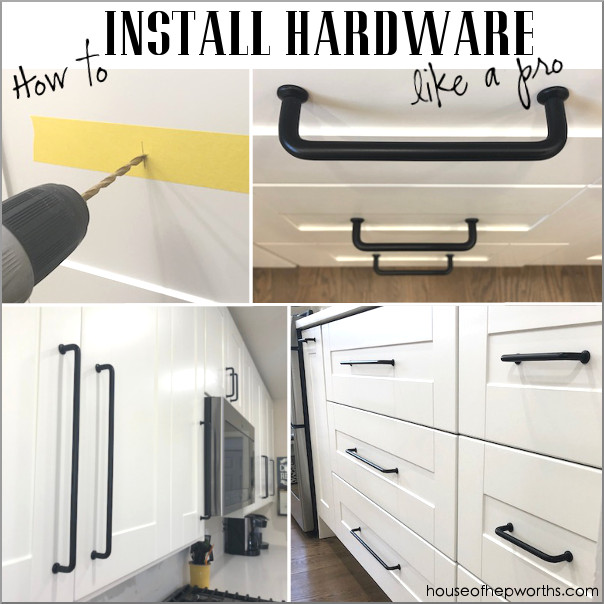
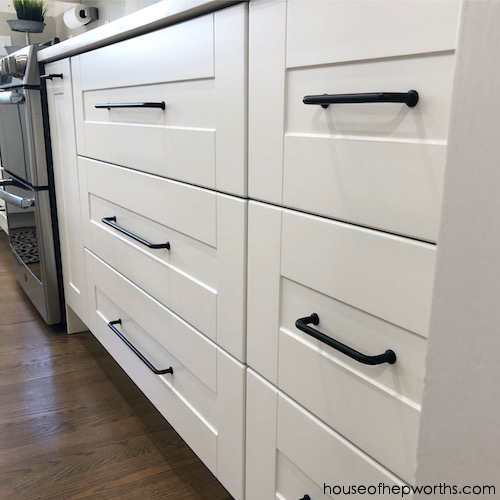
Our hardware is from IKEA (surprise, surprise!). I shopped around for other options, but I really fell in love with this hardware from IKEA. It’s called Bagganas and comes in a few colors; black, stainless steel, and gold. It also comes in two lengths; 5 5/8″ and 13 3/16″.
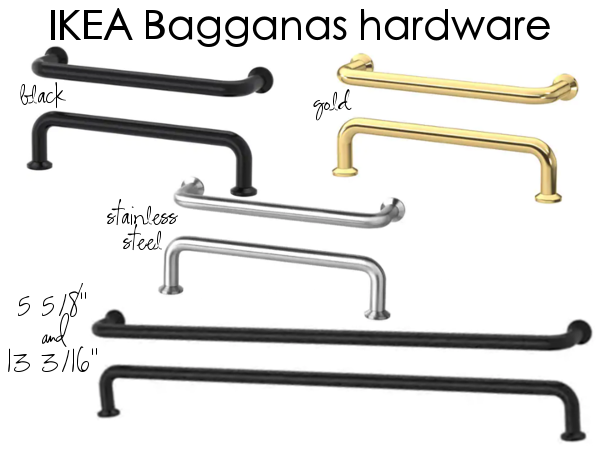
I love love LOVE this hardware. I still can’t believe it’s from IKEA. They have come a long way in their hardware department. I love the color, texture, and versatility of this hardware. Did you know you can install it with or without the little round washers on the ends? It totally changes the look depending on if you install with or without those washers.
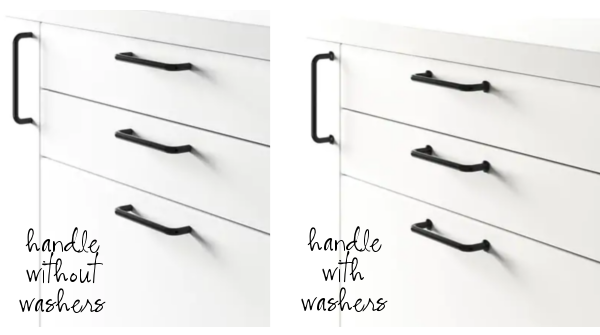
We chose to install with. I feel like it softens up the hardware just a bit.
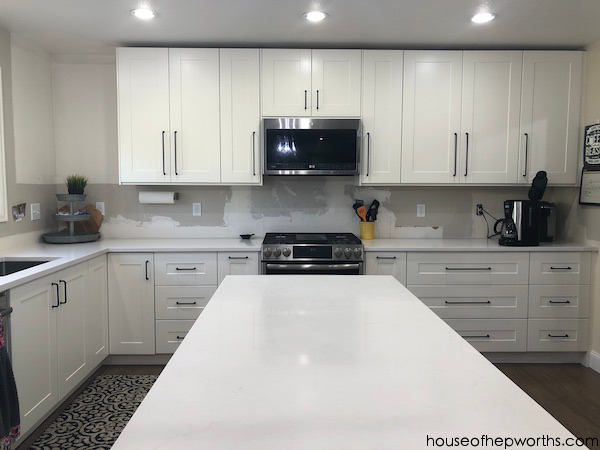
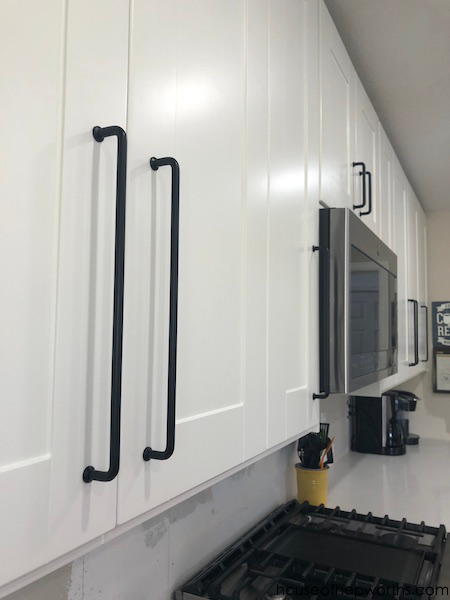
Instead of choosing a one-size-fits-all approach, I opted for different sizes of handles depending on the door size and style. For any tall upper cabinets or wide lower drawers, I chose the longer handle. For shorter uppers or narrow drawers I opted for the shorter handle.
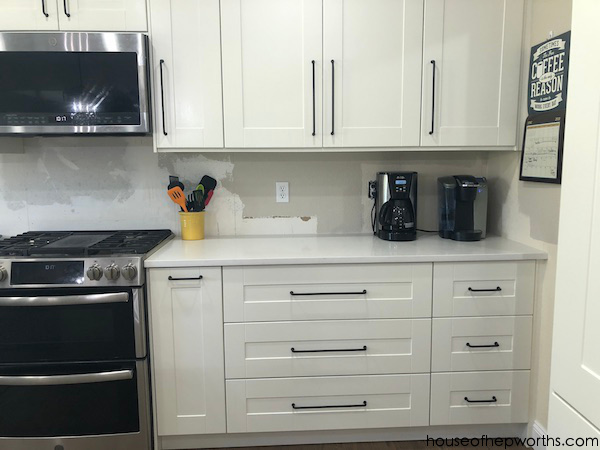
The pull-out spice racks were tricky and I went back and forth on them for quite awhile. I wanted to install them a little lower, but the width of the handle didn’t work well. In the end I installed them horizontally at the top of the drawer and am happy with this decision.
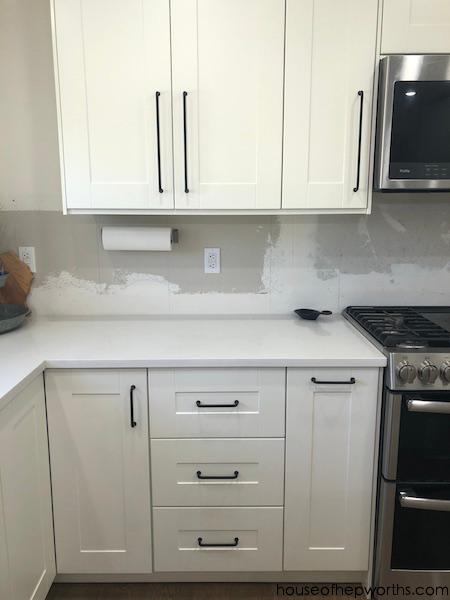
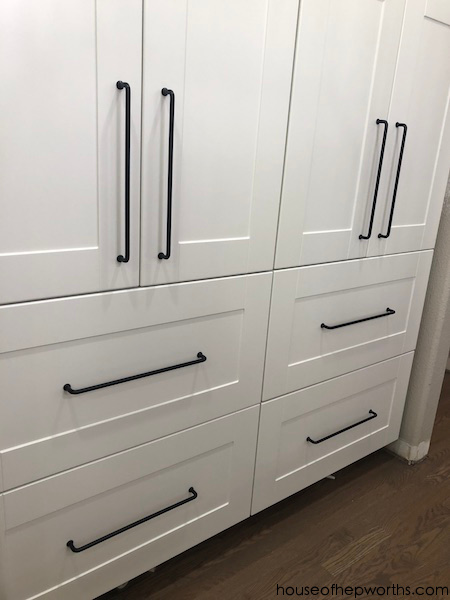
All of our lower drawers I installed the hardware dead-center. I love the look of the hardware sitting in the center of a drawer. In retrospect I’m glad I did it this way because my kids prefer to open the drawers with their feet! If I had installed the handles at the top of each drawer I feel like it would have compromised the integrity of the drawer over time.
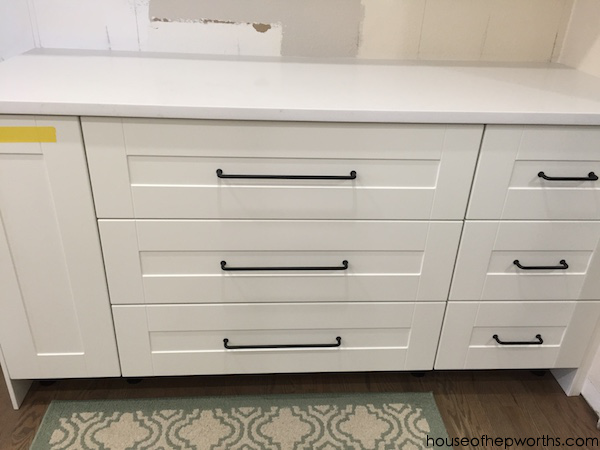
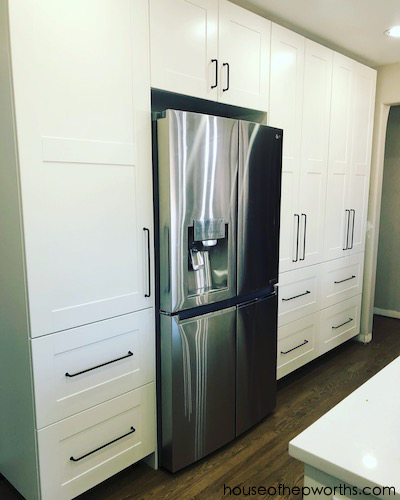
The main feet-opening drawers are the pantry drawers (below). Also, I opted for the long handles on the pantry doors and I can honestly say that I love the placement of them. I don’t regret a single handle placement. I feel like choosing a variety of sizes of handles as well as centering the handles on the drawers makes the kitchen look and feel even more custom.
So how did I install them? I chose a method that takes a little longer than using a template, but I feel that by doing so I made sure that each and every handle was 100% perfect. Here’s how I installed them:
I started by using some Frog Tape for delicate surfaces. I placed the tape in the general area that I wanted the handle. Using a flexible tape measure for sewing (like this one), I marked the center of the drawer on the tape with a pencil. Then I marked exactly where each screw hole needed to be drilled. To make sure they were level, I actually didn’t use a level – I measured down from the top of each drawer. This way they are level with the top of the drawer, not the floor.
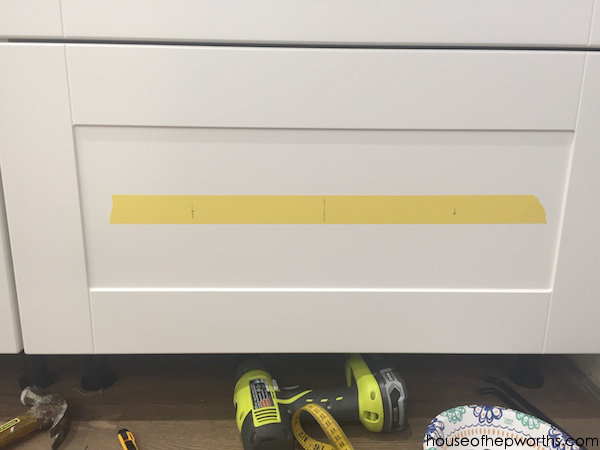
Next, here’s a little trick I came up with. I’ve installed hardware before and I feel like the drill bit slips a little sometimes and makes your hole off-center. Before drilling I used a small nail and a hammer and gently tapped the nail exactly into the center of where I want to drill.
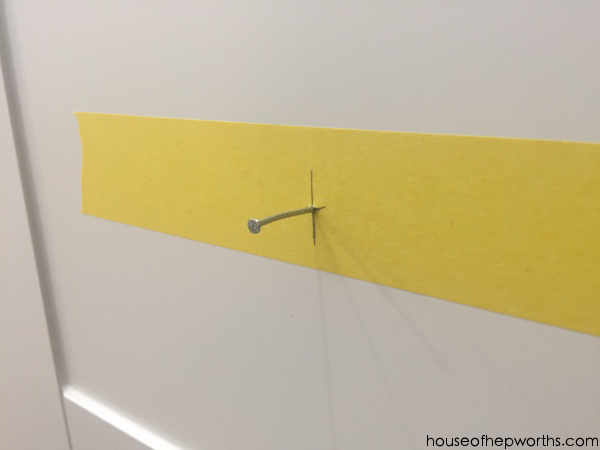
Now my drill bit will have a center spot to sink into ensuring my hole is exactly center. I used a drill bit that was the same size as the directions that came with the hardware said to use.
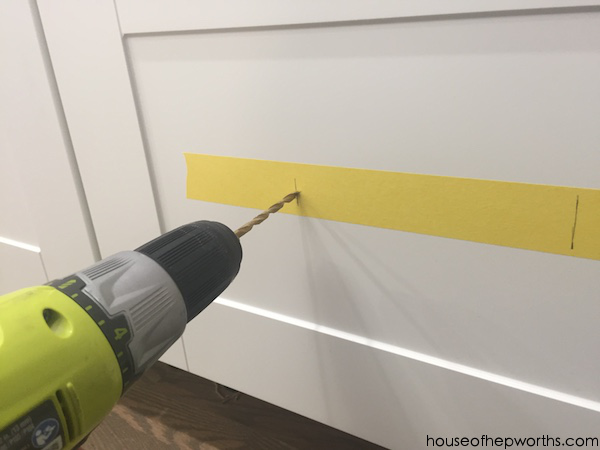
I did this for each hole. Notice my tape isn’t level. The tape is only there to mark on with your pencil so you don’t draw all over your cabinets.
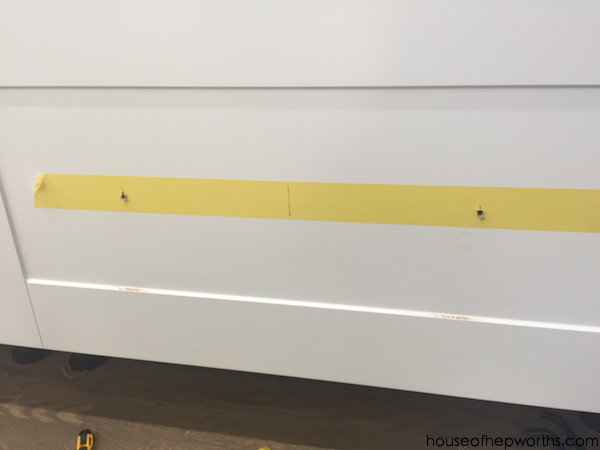
Once your holes are drilled, peel off the tape.
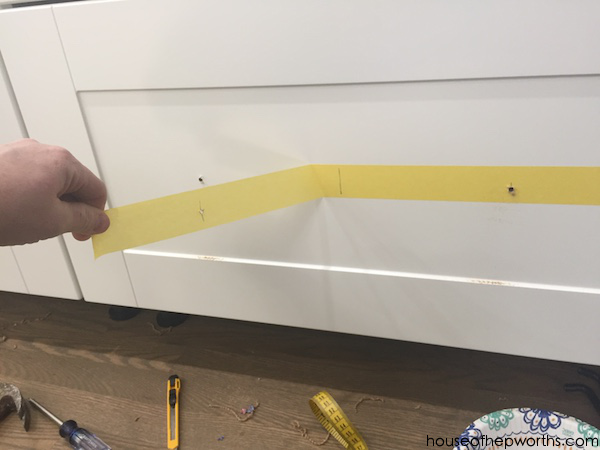
Because these drawers are IKEA and are a particle board type material with a thick plastic-type coating on top, as I drilled the coating tended to leave a little behind:
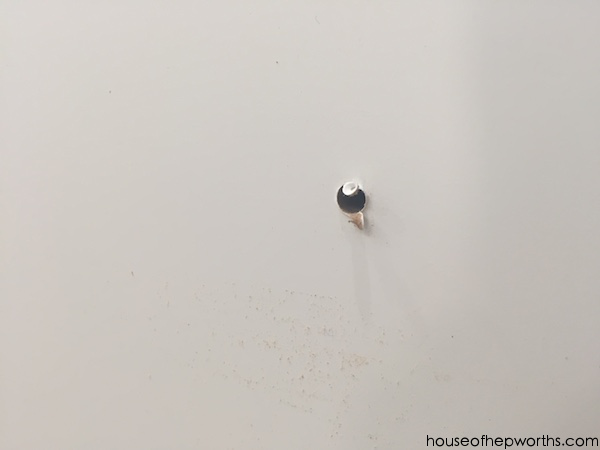
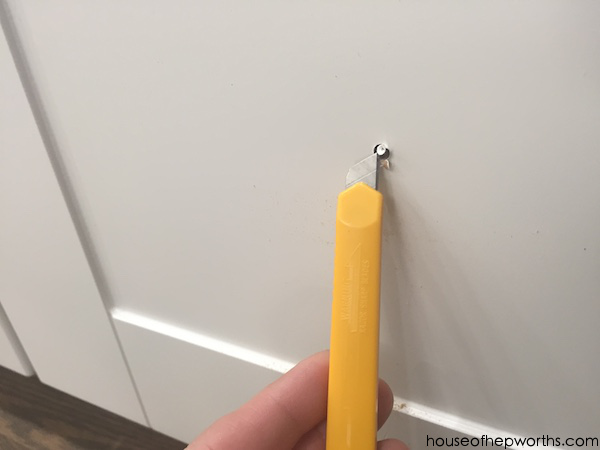
To remedy this I would use a small utility knife to carefully cut the excess material away, leaving a flat clean hole for the hardware.
And now, the best part – attaching the new handles. Each handle has two screws that insert from inside the cabinet. They screw into the handles.
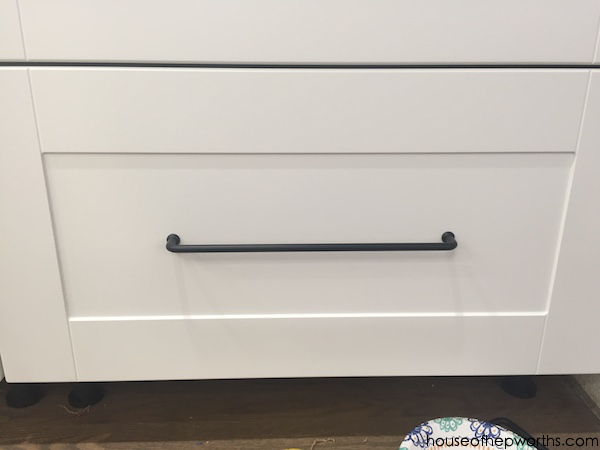
These handles are so clean and classic looking. They aren’t busy but add a nice touch to the finished kitchen.
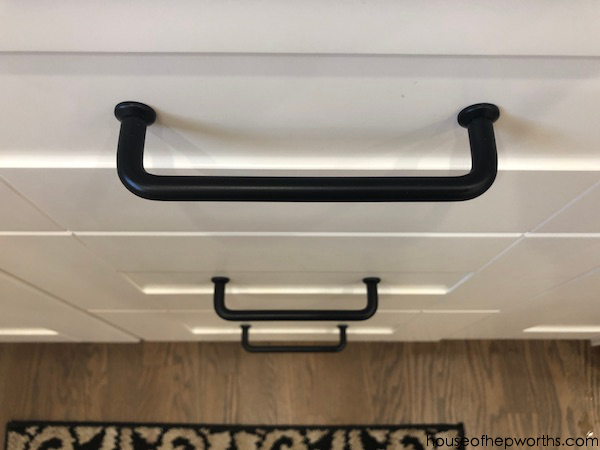
We obviously need to do all the finish details still (toe kicks, crown, etc), but aside from that, now that the hardware is attached this kitchen is looking so much more finished.
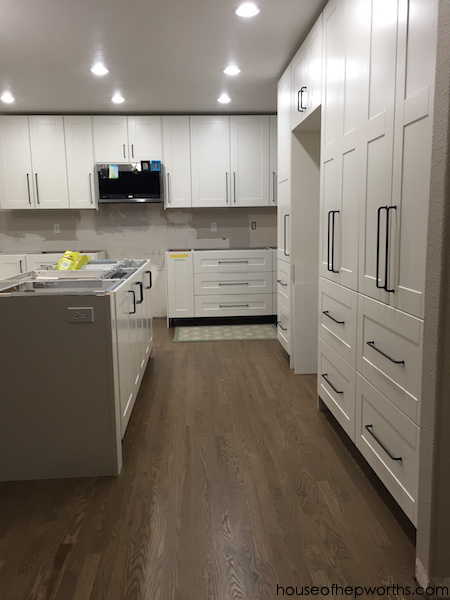
I really am digging the mix of long and short handles. I’m glad I went out of my comfort zone and tried mixing sizes. I feel like it really paid off.
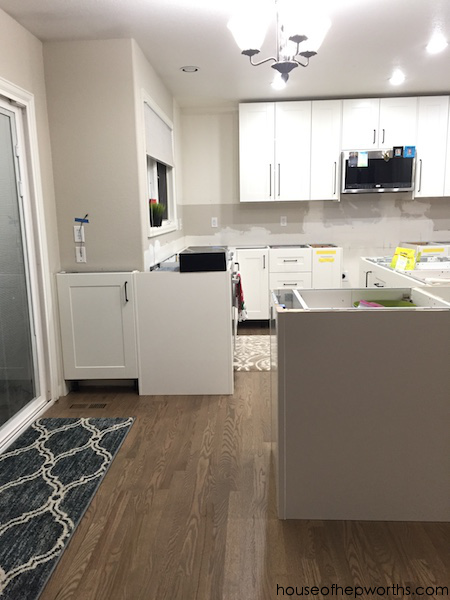
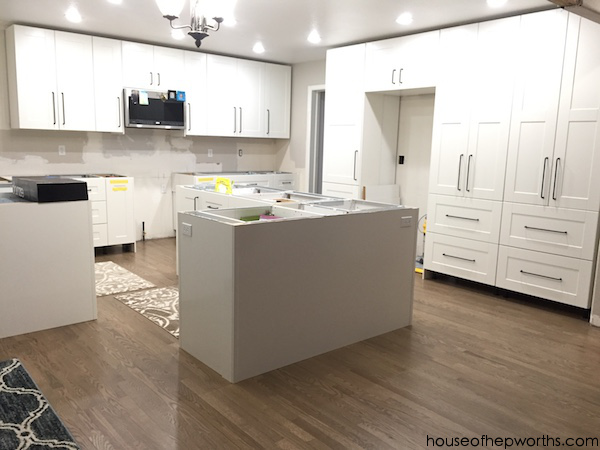
I installed most of the hardware between having our countertops templated and having them installed. Here’s my post all about purchasing countertops through IKEA and then having them installed.
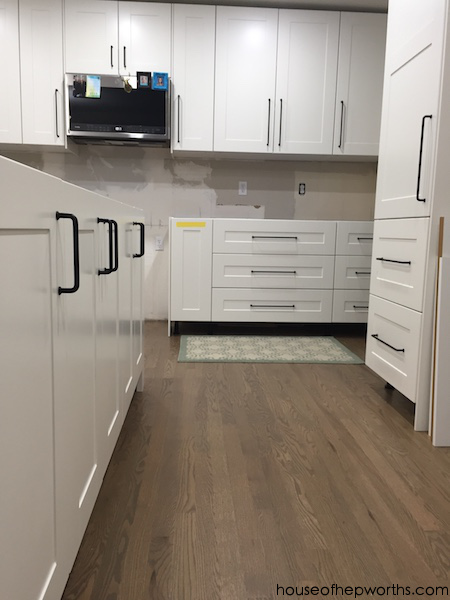
And now, a few more pictures of the hardware after the final countertop installation.
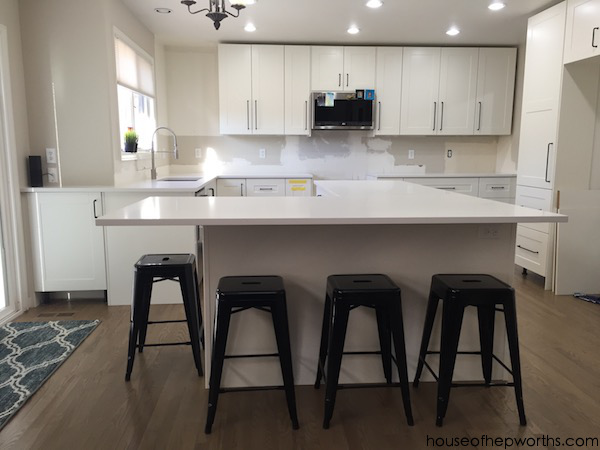
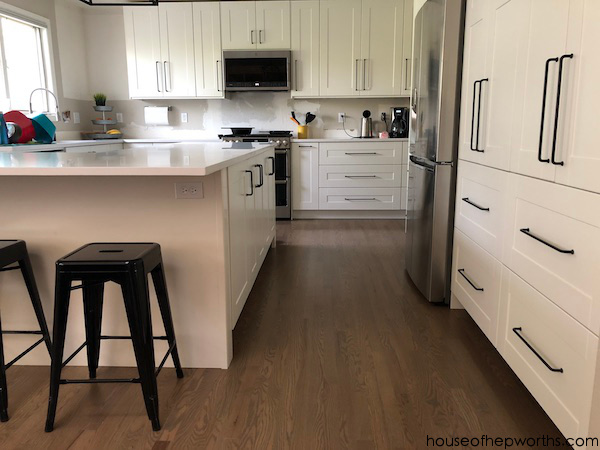
You can see from this island picture which handles open drawers (horizontal hardware) versus which handles open doors (vertical hardware). The one centered handle in the middle is a pull-out garbage can.
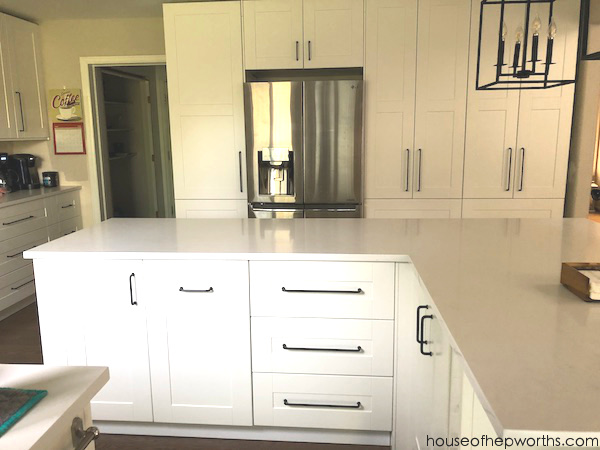
The one cabinet with the double doors is our only actual lower cabinet in the kitchen. The rest are drawers, a lazy susan, or an appliance lift.
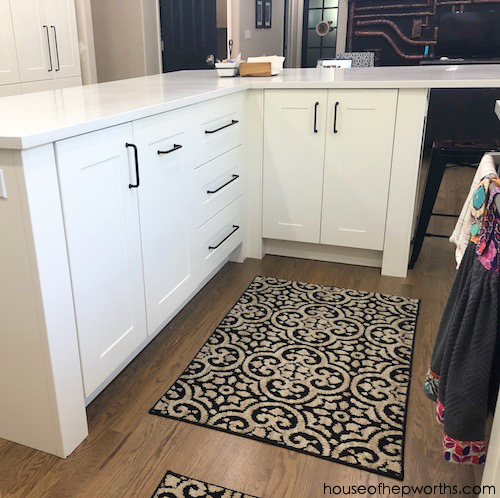
This main thoroughfare view through our kitchen never gets old. It’s my favorite view because it really showcases the different sizes of hardware.
Another pantry shot:
Our one wall of uppers.
As you walk into the kitchen from the mud and laundry room, this is the view:
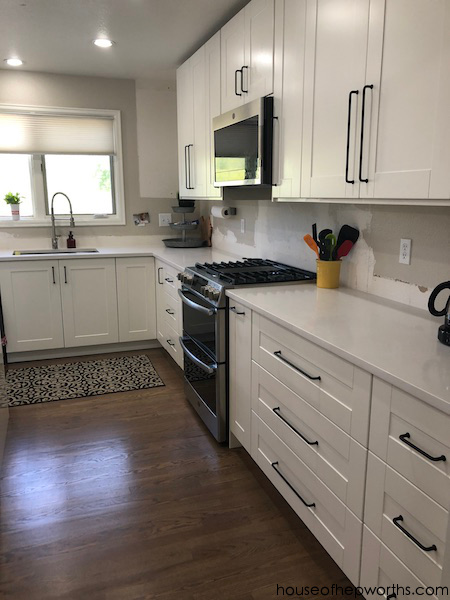
Our fridge used to be here as you walked into the kitchen. I hated that you had to walk past people trying to get into the fridge while you came in and out of the house. We moved our fridge to the pantry wall and now this old spot is our coffee area.
So there you have it! Everything you ever wanted to know about IKEA’s Bagganas hardware and the best way to install it. Yes, you can buy guides that help with installation, but I’ve used them before and am never 100% happy with every door. Taking your time and doing one drawer at a time with a tape measure really is the best way to go to ensure a perfect fit.

Here are all the posts in our IKEA kitchen series:
Start at the VERY beginning of our WHOLE-HOUSE renovation:
New to this series? Click here to start at the beginning!
Instagram || Facebook || Pinterest || Youtube
This post contains amazon affiliate links
Thanks for reading! Have a wonderful week!
Source
http://www.houseofhepworths.com/2018/07/13/how-to-install-hardware-like-a-pro-ikea-kitchen-renovation/
